When I think of ‘Still Life’ the first thing that comes to my mind are paintings of flowers or fruit that hung in my Grandma’s house. While still life was originally meant to be paintings or images of inanimate objects that were arranged in interesting or pleasing ways, it now takes on a broader definition.
A good still life shot will capture a detail of something that is typically overlooked. Commonly these are everyday or common items that people are really familiar with, but just get taken for granted. While other photographers will take common objects and compose them in a way that tries to reshape how you may think about something or to evoke an emotional response. Such as laughter.
Table of Contents
ToggleStarting with Still Life Photography
-
Difficulty:
Easy
-
Time Commitment:
1-3 Hours
-
Skill Level:
Basic
-
Setting:
Indoors
-
Other Gear:
Tripod, Flash and/or Additional Lighting, Reflectors
-
What to Look For:
Interesting objects for Still Life
Capturing the still life object in a creative way that makes it more interesting is a fun challenge to take on.
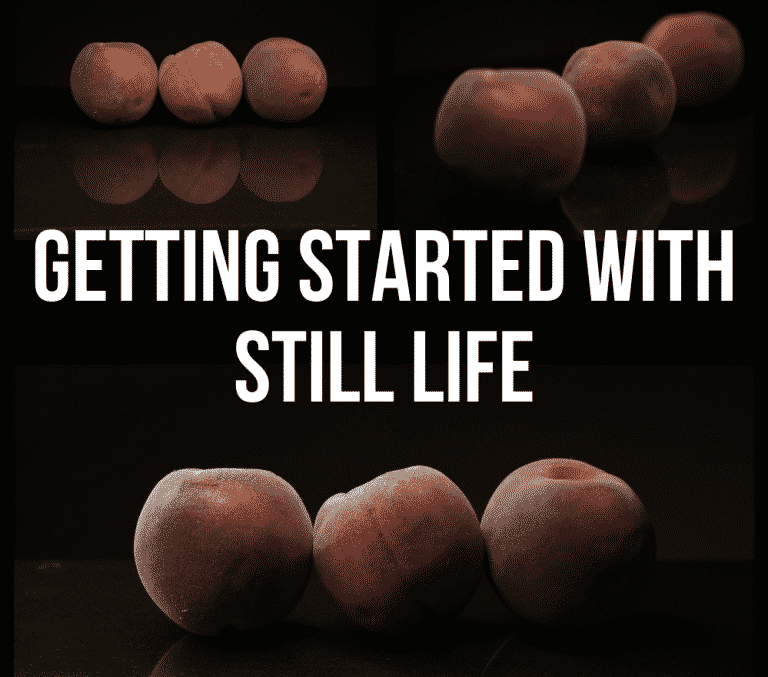
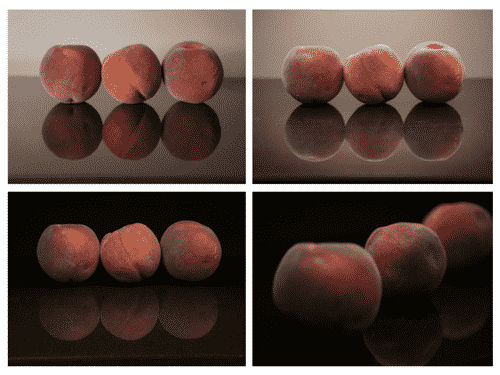
So that’s exactly what I’ve done here. I took some fruit we had in our kitchen and took some different shots to experiment with some different lighting and composition techniques. I’ve been reading the book “Each Peach, Pear, Plum” to my youngest lately, which helped inspire my fruit choices.
What Photography Gear Do I Need?
While you can get more professional with a lighting setup, taking beautiful still life shots can be as easy as placing your objects on the floor or a table near a well lit window.
Make sure you are aware of the detail of the floor or table and consider adding a cloth or something else as a backdrop if they distract from the object. Often you just want a simple, non-distracting, surface so that the detail of the still life is the focal point.
In my experiment I used a small decorative table we have with a dark granite top, as well as a simple white poster board. One tip I found while doing some additional research was that a dark colored velvet cloth works really well as a dark background, since it doesn’t really reflect light.
However, in my photos I didn’t use anything other than the table and poster board.
The only post-production I’ve done on any of these photos is a little minor cropping on a few of the images.
The other thing that will make things much easier is to use a tripod. This way you can get the camera and angle set up how you want and then focus on the composition. This isn’t a requirement by any means but I think it makes the process much easier.
Lastly you’ll need a light source to make things look better. More about that later.
Where To Begin?
Really, just start taking photos and see what you like.
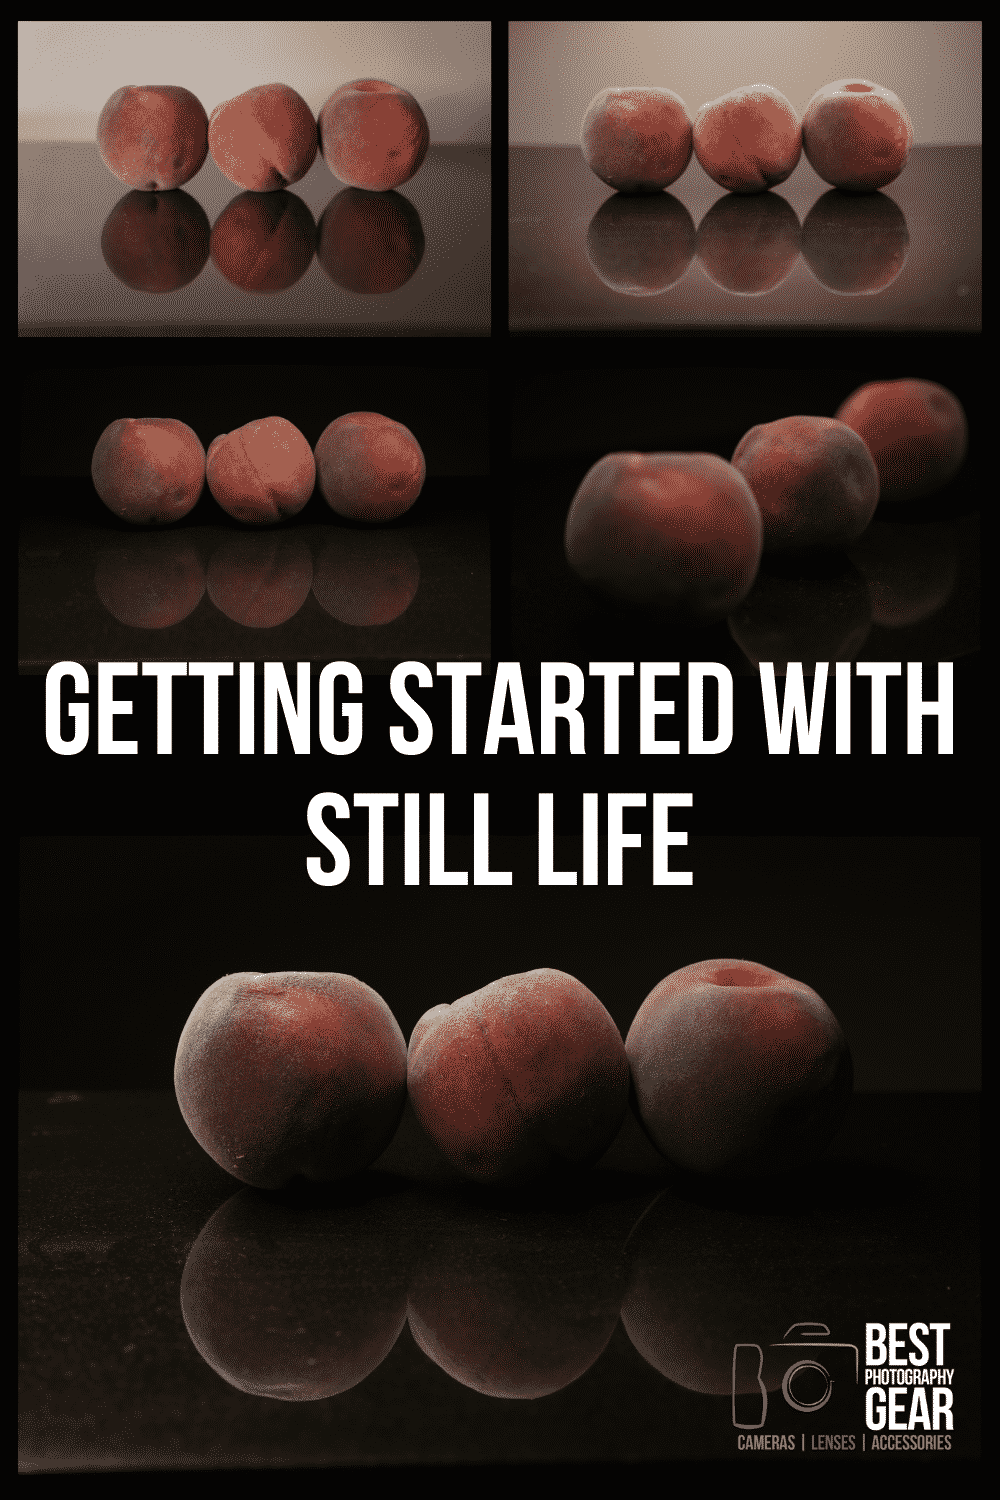
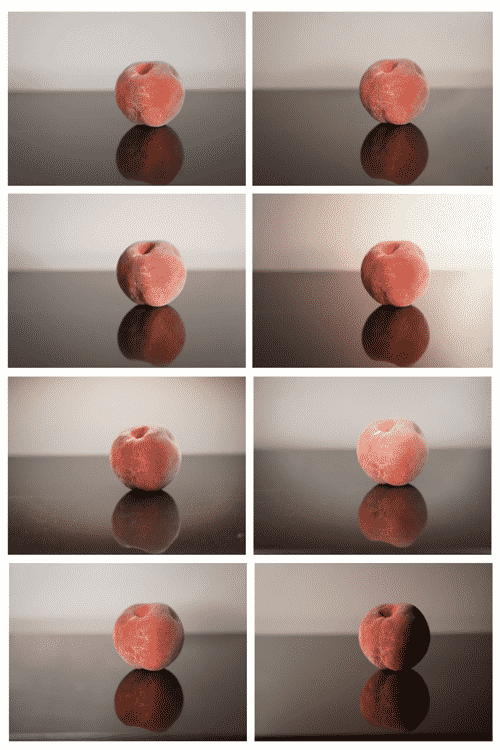
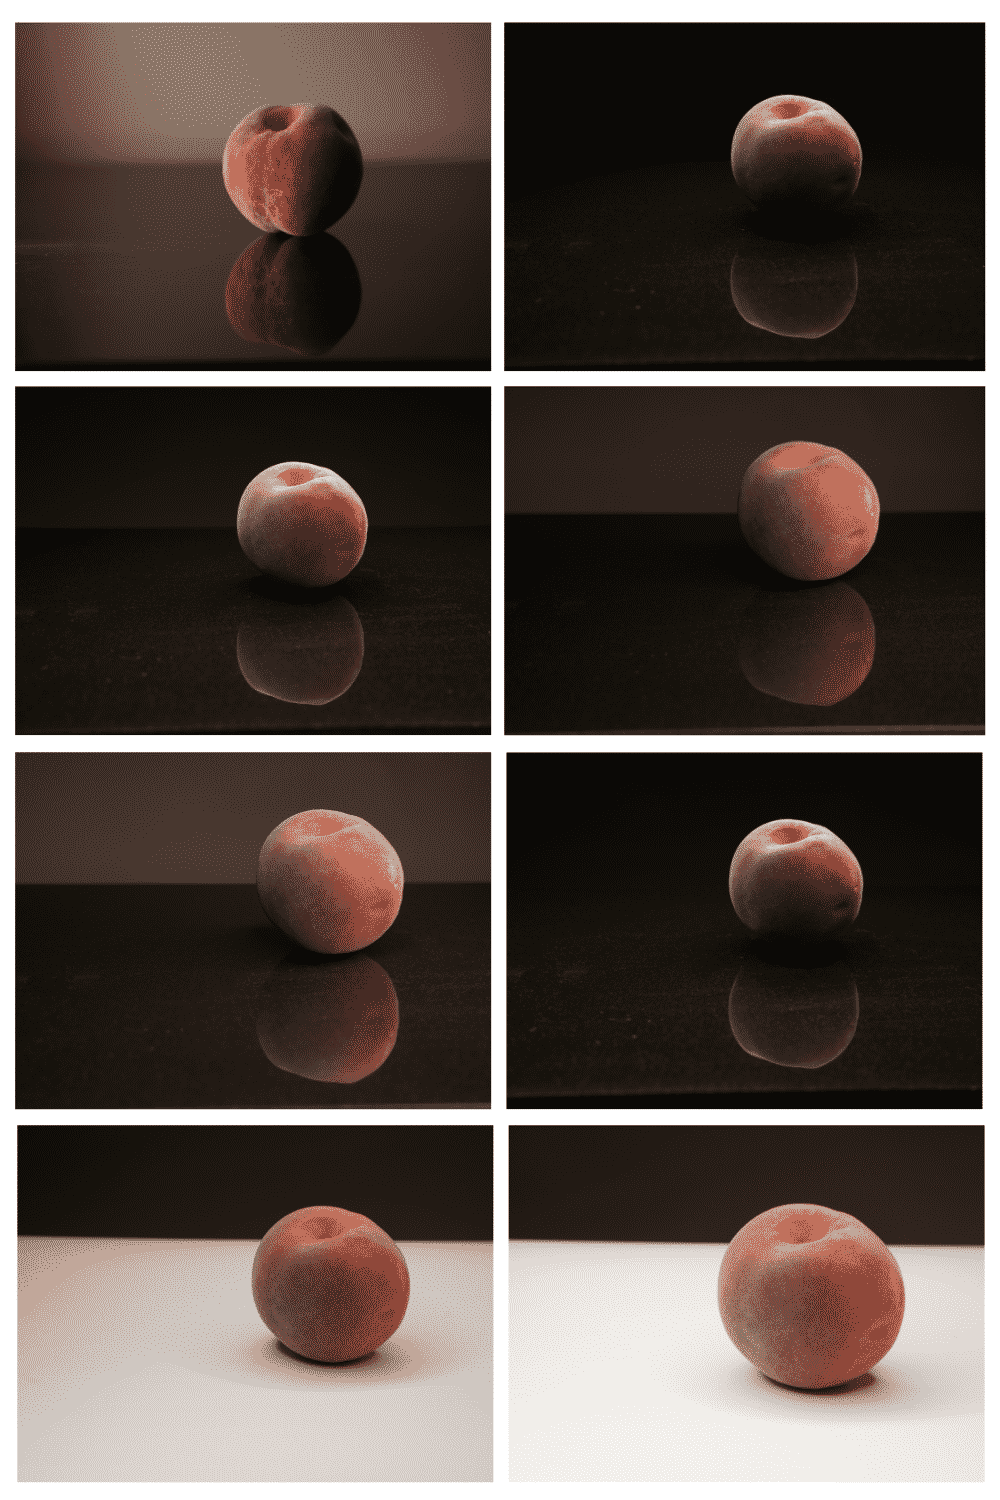
I placed the peach on the table I was using and then started experimenting with different lighting angles. There are some pictures below to show you the evolution and experimentation of my images.
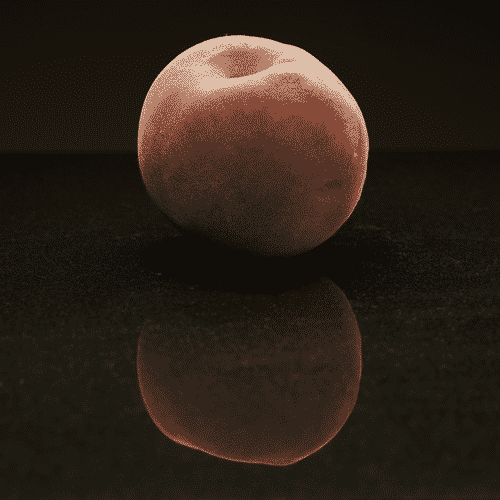
As you can see I started with more of a natural light kind of look, but then moved into creating a deeper contrast by creating a black background. No special equipment needed! Just some camera setting adjustments.
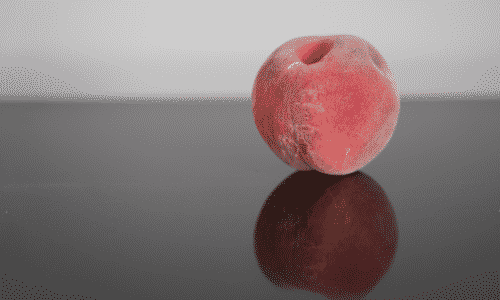
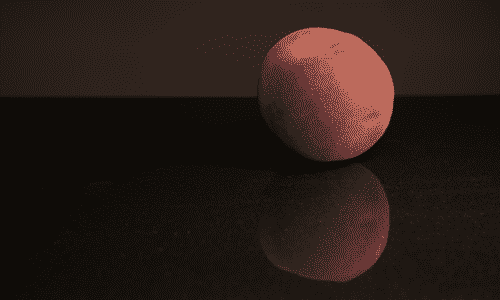
For the dark background effect you can see in some of the still life images below I used a dimly lit room (by no means was it totally dark), a small aperture (f/8 and above), and a light source.
I happen to have a ring light that my wife bought a while ago, but you can use an off-camera flash, lamp, or other lighting sources.
Without the light source adjust your aperture and shutter speed to create the dark background you want. Then introduce the light source onto the still life objects.
One thing I did to make the back wall darker was to make sure my subject was a few feet away from the wall. That way when I put the light source on the still life objects the light isn’t also washing onto the wall.
If you look closely at some of the first images you can see I have the table next to the wall, and I get a few shadows casting onto the wall, which if I had the table farther off the wall, wouldn’t have shown up.
If you’re too close to the wall or back drop of the scene the light will reflect off that as well and you won’t get the black background you want.
Other Things to Try
Once you’re set up, take a series of shots from various angles and heights. If you have multiple lenses you can also experiment with how those change the angles you’re shooting with. Then make sure to also rotate or move your objects to see how the light and shadows add to or distract from the object.
Be sure to get some close ups of the object, even to the point where you are shooting just a small portion or detail of it. You also have some control with this in post-production where you can crop the image to accentuate just a portion of it.
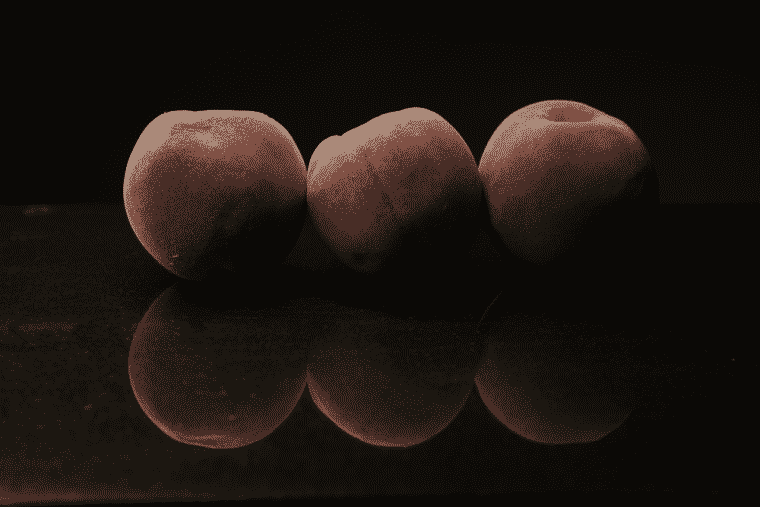
If you are shooting multiple objects it’s often a good rule of thumb to have an odd number of objects. You can see a series of still life shots I did with multiple peaches in the image below.
Things in multiples of 3 are naturally pleasing to the eye, and this is a common rule when used in decorating. Of course there are other multiples that would work well, depending on the message you are trying to convey.
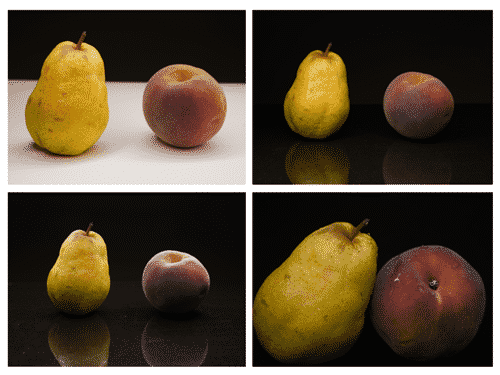
For example, you may just want two objects if you are trying to contrast a difference between two things. Which you can see in these pictures of the pear and peach side by side.

Summary of My Still Life Photography Experiment
In all I spent about an hour working on these photos.
I grabbed some fruit that we had on hand and my camera. The other gear I used was a basic tripod and then a ring light that I happened to have were I was shooting.
Other than the fruit, the only other accessory I had was a white poster board.
I’ve never done staged still life photos like this, but it was so much fun experimenting and finding some effects that I really liked. Being able to find a few quick photography tips and then trying something out for myself is one of the things I love about photography.
Simplifying photography is our goal. So something like this, that doesn’t take a lot of setup or work, and allows you to test out some new skills, is right along those lines.
Now it’s your turn to go create something!
If you get stuck with something you’re trying to do or have any questions feel free to ask for some help. In general the photography community is full of great people who are willing to offer support.
Find the Perfect Lens
Whether you are learning what makes a great lens or trying to narrow down your selection to the perfect choice we have you covered.
Other Photography Guides and Tips
The Most Creative and Unique Gifts for Photographers
One characteristic that is almost universal with any photographer is that they are creative. If you don’t think of yourself...
Read MoreWhat Gift Do You Buy For a Photographer?
Before you buy a gift for a photographer you need to know this one thing; they are extremely picky! That’s...
Read MoreThe Best Place to Rent a Camera Lens
Searching for "camera lens rentals near me"? How can you be sure you're getting the best price and options from...
Read MoreFirst and foremost, I’m a husband and father. Then professionally I’m photographer, designer, blogger, and Esty store owner. My homebase is near the stunning Wasatch mountains in Utah but I love traveling with my family as part of our homeschooling journey. I also love teaching and helping out others. My faith is one of the biggest aspects of my life and brings be a consistent joy that I haven’t found in anything else. My main blog is BestPhotographyGear.com and I strive to make photography simple for anyone looking to learn or find gear for their individual needs. By nature, I like to study, research, and analyze things and I use that help provide the best advice and reviews I can.

